In this tutorial, we will walk you through the process of setting up and installing your very own Windows VPS on LiftUp Hosting, so you can start enjoying the benefits of a virtual private server in no time. Whether you're running a game server or website, a Windows VPS can take your online presence to the next level. Don't miss out, join us on this tutorial and let's start the journey together!
Installing Windows
To begin installing Windows onto our new VPS, Navigate to the VPS Control Panel.

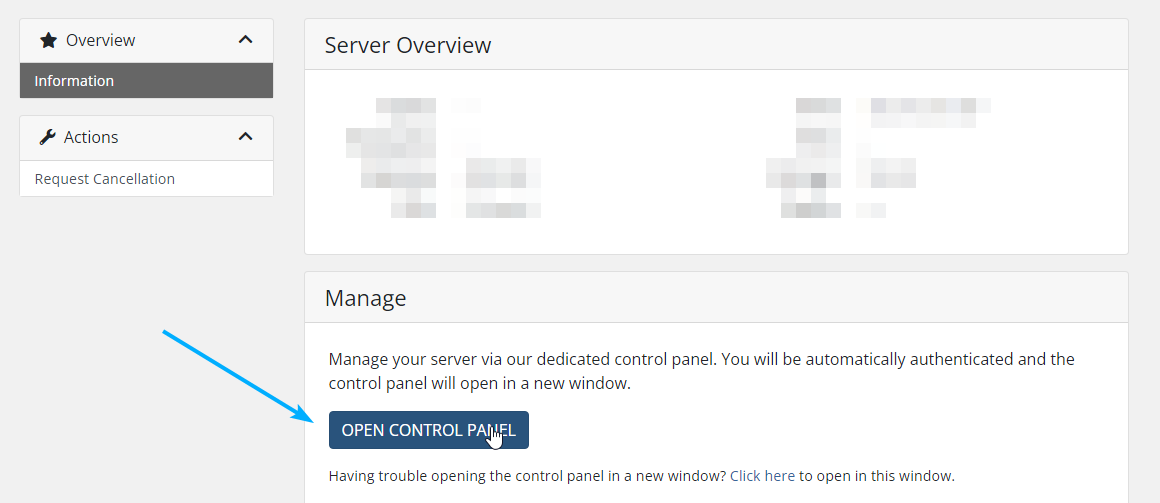
Alternatively, You can reset the password and set your own and login through https://vps.liftup.au
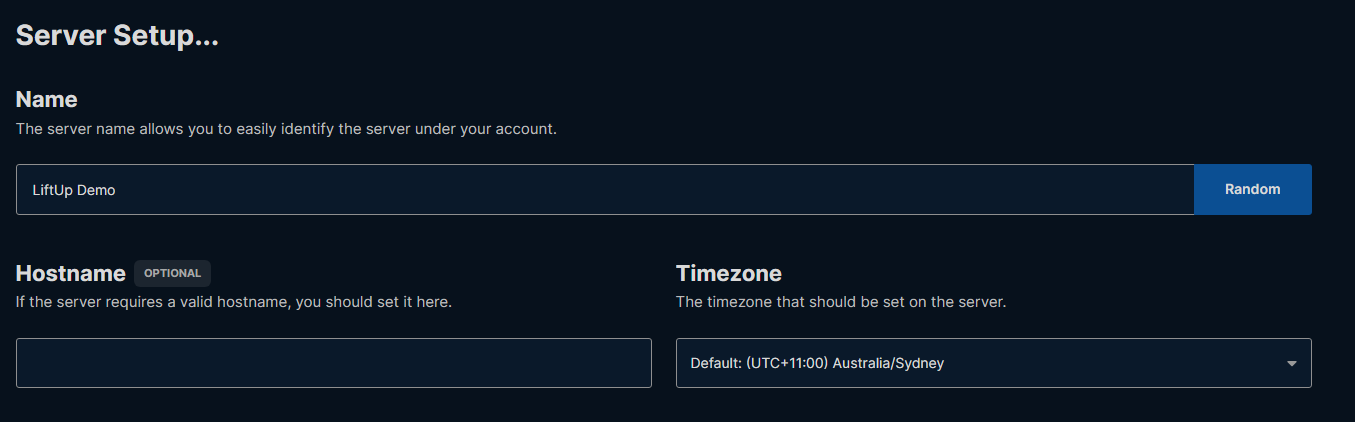
One logged in, you will be prompted with the Server Setup. Set your desired display name and timezone.
Once this is filled out, scroll down to Operating System, Select Windows then pick your OS. We recommend the latest version (Windows Server 2022 Standard) and begin the installation
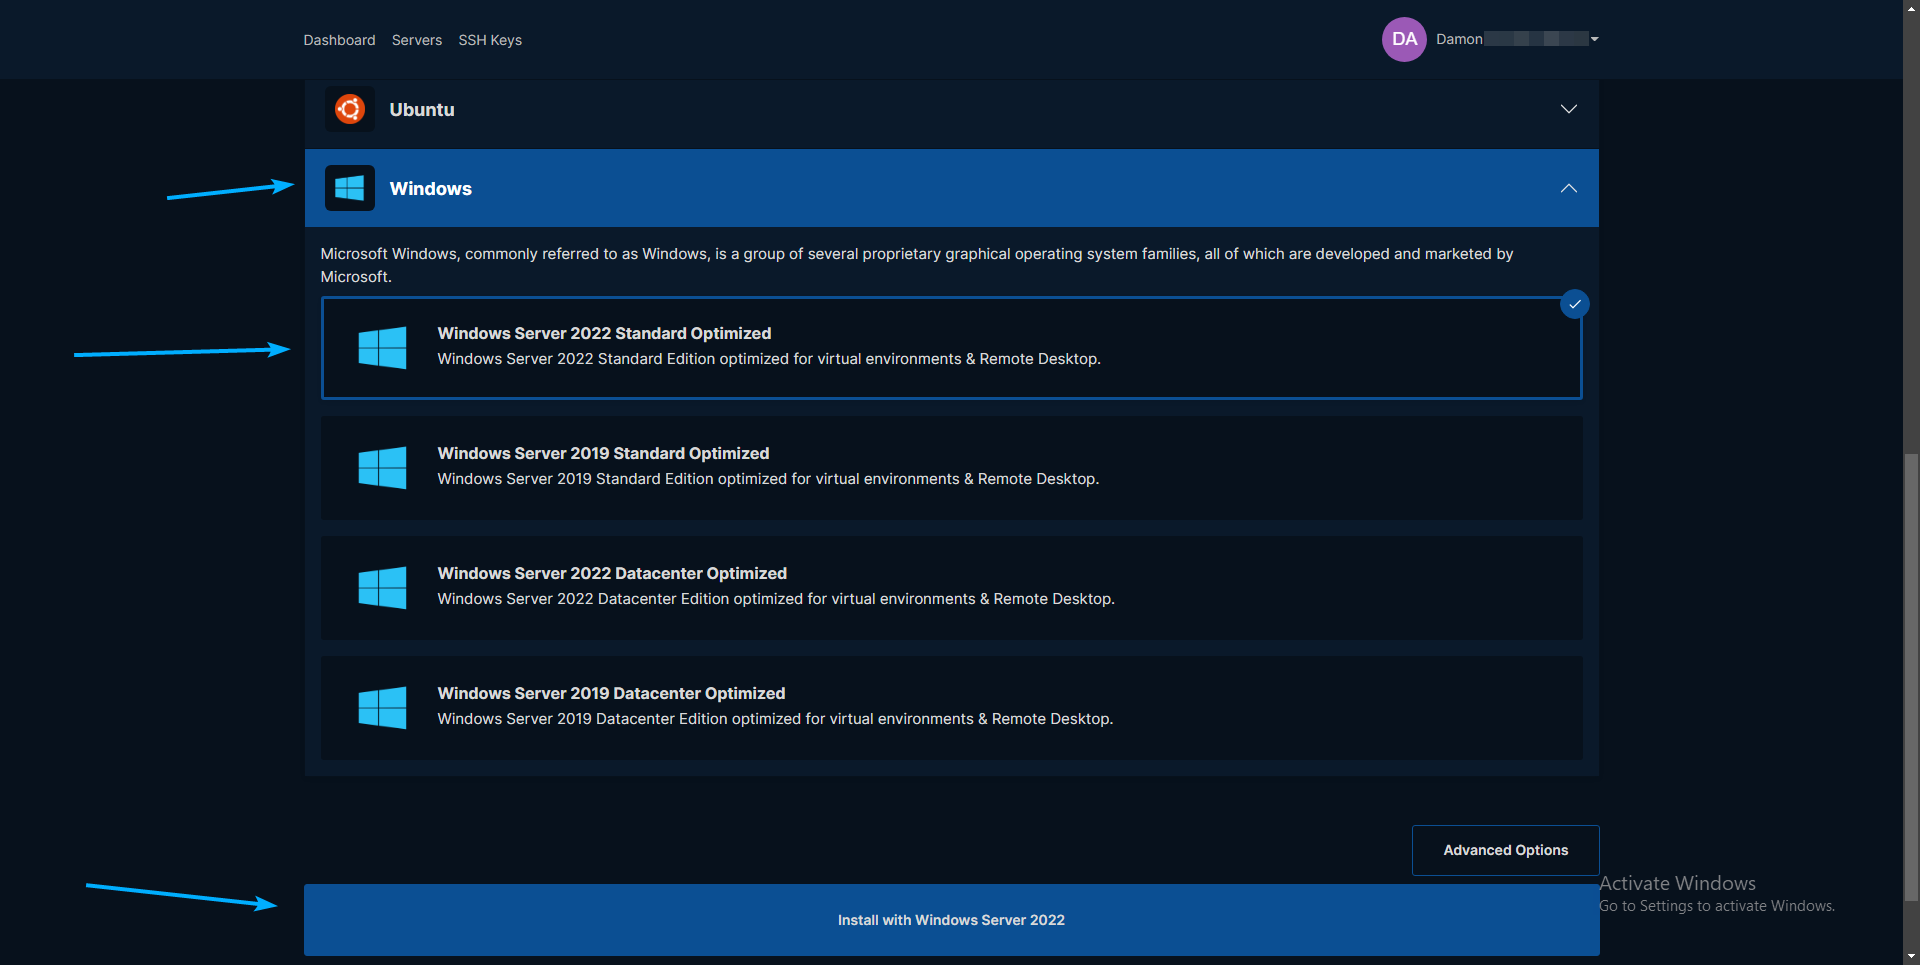
Let the VPS Install, and then check your email for the login credentials!
To connect to the server
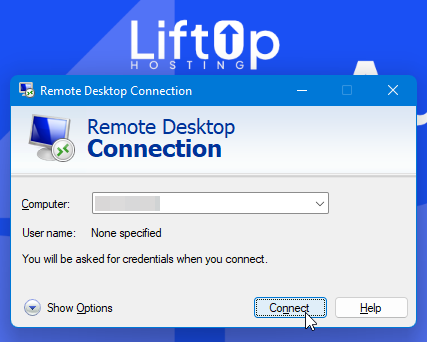
1. Open Remote Desktop Connection
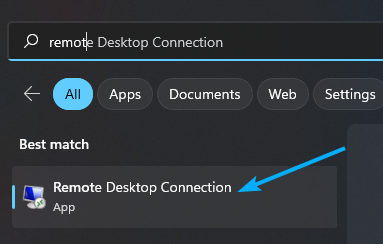
2. Input your new IP Address and press "Connect"
3. Input the login details from your email. In most cases, the username will be Administrator
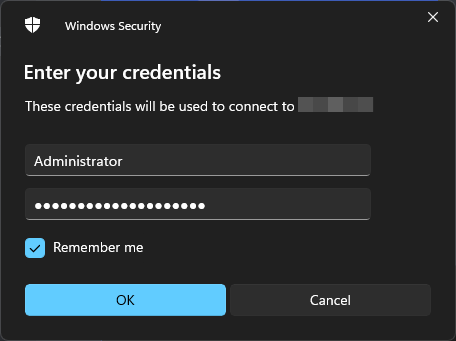
4. If you are prompted with any certificate warnings, Ignore and press "Yes"
Congrats! You just setup your brand new Windows VPS. If you have any questions or get stuck along your journey with us, don't hesitate to reach out to our support team
